Photoshop is probably an incredible piece of software in an artist’s toolbox. It can be used for different manipulations from retouching photos to designing entire web layouts. And specific Photoshop tutorials are a great way to familiarize you with what Photoshop can offer. Below are the best Photoshop tutorials that help you manipulate photos, create icons and learn digital painting and text effects.
Boost your Photoshop skills
There are tutorials for all Photoshop skill levels, whether you’re a beginner or a seasoned pro.
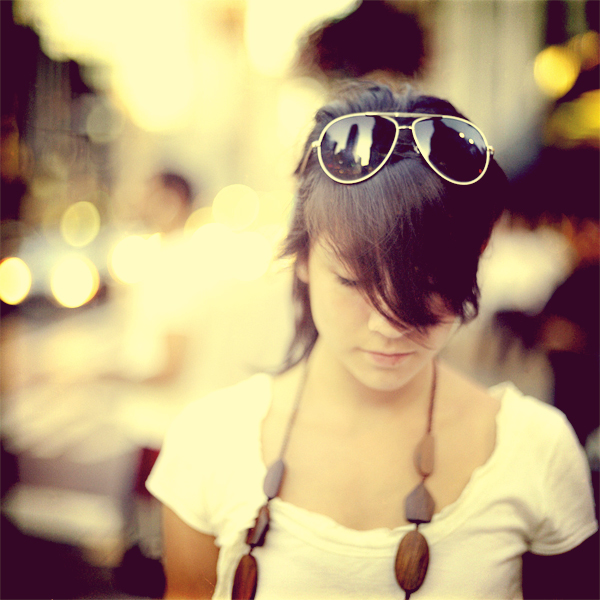
Vintage effect
Changing the look of existing photos by adding some special effects is something you learn to do by trial and error. Some photos look much better for certain effects and others don’t, but it’s something we artists love to experiment with. Vintage effects add more depth to a photo. As always, you must know how much effect you add is safe for the image.
Fake model Photography
With a very little effort, you can create the illusion that you have taken a picture of a model. Model photography can be easily achieved if you have the right image. It doesn’t take much to make something look artificial than to make something artificial look natural. All you need to do is follow a few basic rules to create the illusion.
Snow effect
This tutorial helps you learn how to add realistic falling snow effect to a winter photo. As with any season of the year, it is difficult to show the natural effect on our photos. You may have taken a great picture of your kids designing their first snow man, and the only thing that would have been made the picture better is if there was a snow fall at that time which of course did not happen. But you need not worry because Photoshop brings you a tutorial that teaches you how to add falling snow to your existing photo. In fact, one of the interesting things about Photoshop is that if you focus more on learning techniques instead of memorizing steps, you’ll be using the same techniques repeatedly to create completely different effects- creating raining effect or adding a starry night sky effect.
Photoshop Texture
Being able to play with texture in Photoshop gives you endless options for your design. There are different approaches for adding texture. Some are easy to learn while others require some basic skills.
Noise Background Effect
Noise background effect is in trend and everyone love to implement this effect and re-use again and again. This tutorial will guide you how to create noise texture effect in Photoshop. This is the most commonly used effect for website background.
Cloning
Before the release of Adobe Photoshop, professional artists and photographers had to manually cut, paste and modify the photographs using knives, glues, chemicals and paint. It was a tedious process because there was no photo imaging tools at that time. With the launch of Photoshop, images can be assembled easily. Certain portions of a photo can be enlarged or repeated by using a technique called cloning. This tutorial in Photoshop is one of the most versatile tools in the tool box and easy to operate once you get the hang of it.
Cloning is helpful in cleaning up unwanted elements from your image- stains or spots, marks, people or objects, etc. Cloning also helps you in repeating items such as flowers, books, etc, to improve the image as long as you do it correctly. For example, cloning can be used to remove a stain from wall or carpet to improve its look.
Tilt-shift effect
Tilt shift effect in Photoshop tricks the eye into perceiving a life-size image as a miniature model. The miniature effect of the photo is due to the illusion of a shallow depth of field. The end image got using this effect resembles a photograph taken using a tilt-shift lens. Hence the effect got the name tilt-shift effect. This tutorial uses simple steps to teach you how to achieve this effect without spending a dime on a new lens.
To add tilt-shift effect, the photos must be taken at a high vantage point. Usually, the longer the distance between you and the ground, the better pictures you get. If the distance is less, it doesn’t mean that shots are useless, but images shot at greater heights have the best results. This is because images shot at greater heights add a shallow depth to the field. Locations such as hills make for extremely interesting miniature photographs. Another tip to get a good miniature photograph is to take the shot in the daytime.
Brianne Walter is a freelance journalist who has been writing about mobile technology, customer relationship management and women’s health for more than a decade. These days she is busy to contributes on getamplify.


Amazing post thanks for sharing this article,I am truly motivated by you for blogging