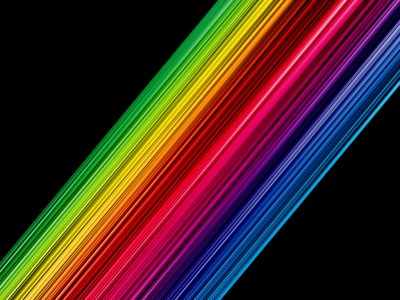
With the permission of the author of this tutorial, we bring you the entire procedure, plus images of appropriate screens. Try to do every step bellow and create your own rainbows:))
Rainbow Lines Tutorial
1. Open a new document eg 1024 × 768 px, fill it with black.
2. Create a new layer (above the previous) and fill it with white color
3. Select Filters >> Render >> Fibers and apply the following settings
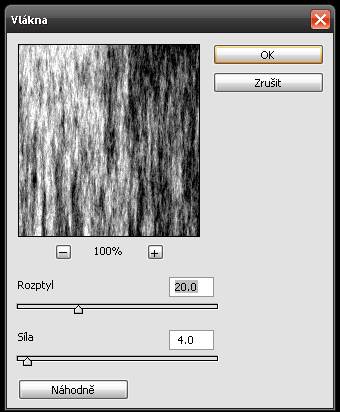
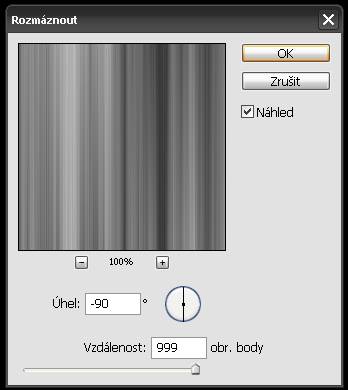
4. Select Filter >> Blur >> Motion Blur and apply the following settings
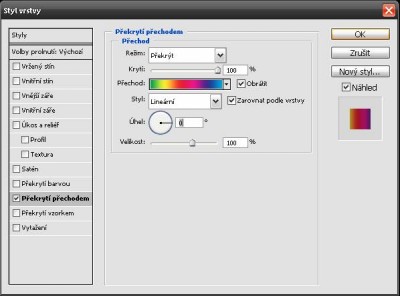
5. Apply a Gradient Overlay with the following settings, set the overlay as you see it below
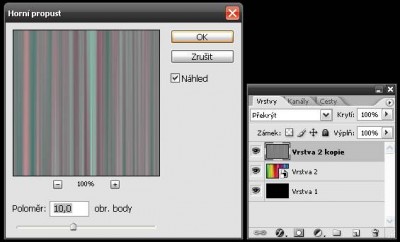
6. Now group the layer to a new automatic object, this duplicate, overlap, set a new layer, select Filter >> Other >> High Pass and set the radius of 10px
6. Black background layer to hide, and press (Shift + Ctrl + E) to connect visible (Ctrl + T) to adjust the size of linked layers
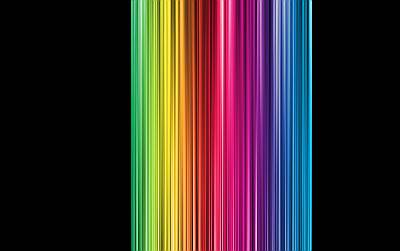
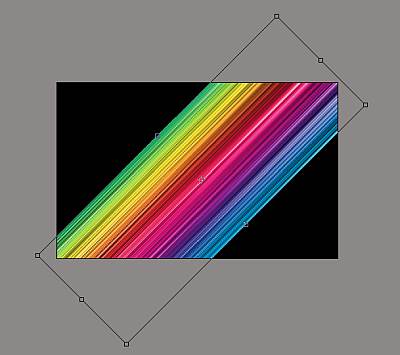
7. Modified layer rotate 45 degrees and drag it into the corners of the canvas
8. Select Picture >> Customization >> levels, set as shown.
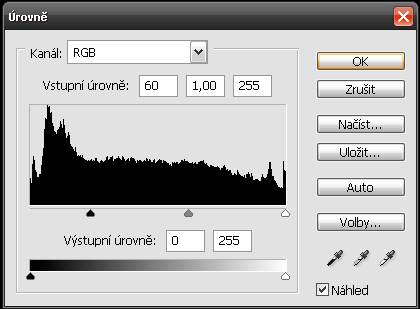
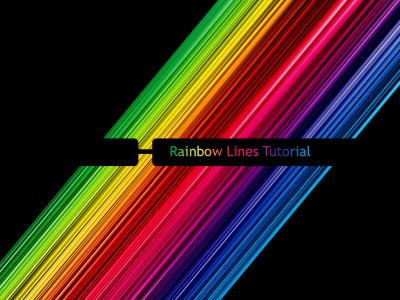
9. Final, apply more ideas, add text.
Source:
Giackop Design / Giacomo Coppola » Blog Archive » Lines Tutorial


0 Comments