Jekyll is a simple, blog-aware, static site generator. It takes a template directory containing raw text files in various formats, runs it through a converter (like Markdown) and our Liquid renderer, and spits out a complete, ready-to-publish static website suitable for serving with your favorite web server. Jekyll also happens to be the engine behind GitHub Pages, which means you can use Jekyll to host your project’s page, blog, or website from GitHub’s servers for free.
Quick-start guide
If you already have a full Ruby development environment with all headers and RubyGems installed (see Jekyll’s requirements), you can create a new Jekyll site by doing the following:
# Install Jekyll and Bundler gems through RubyGems
~ $ gem install jekyll bundler

# Create a new Jekyll site at ./myblog
~ $ jekyll new myblog

# Change into your new directory
~ $ cd myblog

# Build the site on the preview server
~/myblog $ bundle exec jekyll serve

# Now browse to http://localhost:4000
If you encounter any unexpected errors during the above, please refer to the already-mentioned requirements page, as you might be missing development headers or other prerequisites.
Your first Jekyll website
Now it’s your turn. Plenty of resources are available to help you build your first Jekyll website:
- The official Jekyll website is a great place to start with in-depth documentation on all of Jekyll’s features.
- Jekyll.tips has a video tutorial series covering core Jekyll topics.
- Have a look at Jekyll templates on GitHub to see how they’re put together: Frisco for marketing websites, Scholar for documentation and Urban for digital agencies.
If you’re migrating, Jekyll has tools to import posts from WordPress and WordPress.com websites. After importing, you’ll need to manually migrate or create the layouts, pages, CSS, JavaScript and other assets for the website.
Documentation
Guide to Jekyll covering installation, writing, customization, deployment, and more.
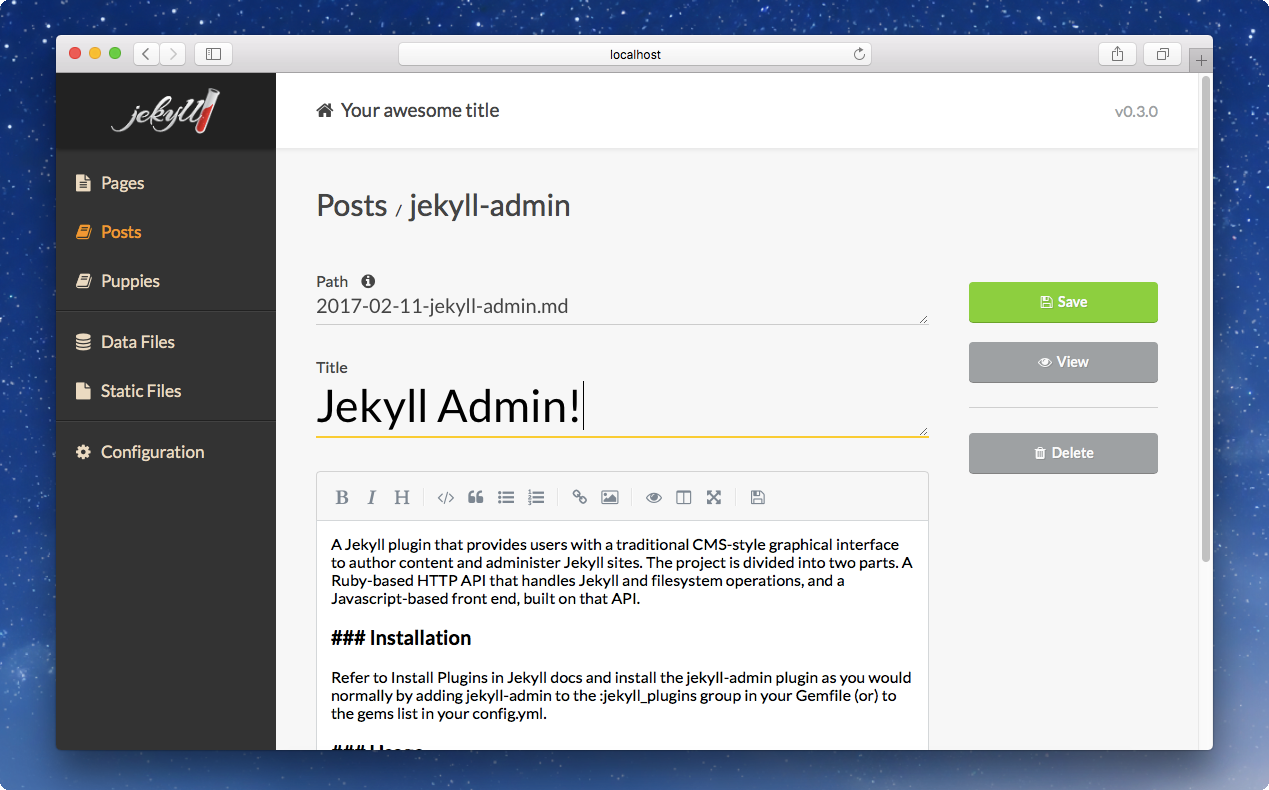
Jekyll Admin
A Jekyll plugin that provides users with a traditional CMS-style graphical interface to author content and administer Jekyll sites. The project is divided into two parts. A Ruby-based HTTP API that handles Jekyll and filesystem operations, and a Javascript-based front end, built on that API.

Installation
Refer to the installing plugins section of Jekyll’s documentation and install the jekyll-admin plugin as you would any other plugin.
- Add the following to your site’s Gemfile:
gem 'jekyll-admin', group: :jekyll_plugins
- Run
~ $ bundle install
Usage
- Start Jekyll as you would normally
~ $ bundle exec jekyll serve
- Navigate to
http://localhost:4000/adminto access the administrative interface
Conclusion
If you’re interesting in trying out Jekyll you’re in the right place! This post takes you through everything you need to know from installing Jekyll, to advanced use cases.
Sources:
Jekyll For WordPress Developers – Smashing Magazine
Jekyll • Simple, blog-aware, static sites | Transform your plain text into static websites and blogs
Related:
How Static Site Generators Will Affect The Web Design Industry


0 Comments