Secure Shell (SSH) is a TCP/IP service that provides a secure mechanism for remotely logging into one system over either a local network or the internet into another system. SSH also provides the ability to transfer files between remote systems. When a user logs into a remote system using SSH, they receive a command prompt allowing them to enter commands on the remote system as if they were sitting at the remote system and had opened a terminal session.
1. Installing SSH on an Fedora Linux System
In order for a system to accept SSH connections, the system must first be running the SSH server. By default, Fedora Linux installs the SSH server so it is not usually necessary to install it. To check if it is installed and running use the following command:
/sbin/service sshd status
This will generate output similar to the following if the service is installed and running:
sshd (pid 9488 9486 1850) is running...
If the service is not installed it can be installed as follows:
dnf install openssh-server
The installation process will download the SSH server, install it and start the service running in the background.
If the service is installed, but not running, it can be started either from the command-line:
Start the SSH Server
/sbin/service sshd start
Disabling the SSH Server
/sbin/service sshd stop
2. Configuring the Firewall to allow SSH Connections
This tool is launched from the System -> Administration -> Firewall. If you are using a firewall to protect your system you will need to allow SSH connections before you be able to connect from a remote system. If the box next to SSH is not already checked, check it and click Apply.
3. Generating public/private rsa key
Open the Terminal application.
Make an “.ssh” directory (if you don’t already have one). Go to: /Users/David (where “David” is the name of your home directory).
mkdir .ssh
Next you generate a public/private key pair:
$ ssh-keygen -t rsa
Your identification has been saved in /Users/David/.ssh/id_rsa.
Your public key has been saved in /Users/David/.ssh/id_rsa.pub.
Secure those files by navigating to /Users/David/.ssh and changing file permissions
$ chmod 700 id_rsa id_rsa.pub
4. c-Panel SSH/Shell Access
Log into your c-Panel account that has SSH access, find the security section and click on SSH/Shell Access. Click on Manage SSH Keys. Click on Import Key.
On your local computer, open the file, /User/David/.ssh/id_rsa.pub
Copy the contents of that file onto your clipboard. Return to c-Panel’s import key page where you have been working. Find the field, Paste the Public Key in this box: and paste the contents of your clipboard there. Click Import.
You are on the Manage SSH Keys page now. Look for the table in the Public Keys section and find the Actions column. Click on Manage Authorization. Click on Authorize.
Now you’ll see, id_rsa.pub has been Authorized. Click on Go back to verify that the key has been authorized.
5. SSH connection
Now go back to Terminal and try to log in to the c-Panel account on which you just installed the public key. You begin the usual way where username is the c-Panel username for the account:
$ ssh username@example.com
At this point, you should be prompted for a password, type in the passphrase you used when you set up the key, NOT your account password for the c-Panel account.
Troubleshooting
For troubleshooting, add “-v” (verbose) to your ssh command making it:
$ ssh username@example.com -v
SSH: connect to host localhost port 22: Connection refused
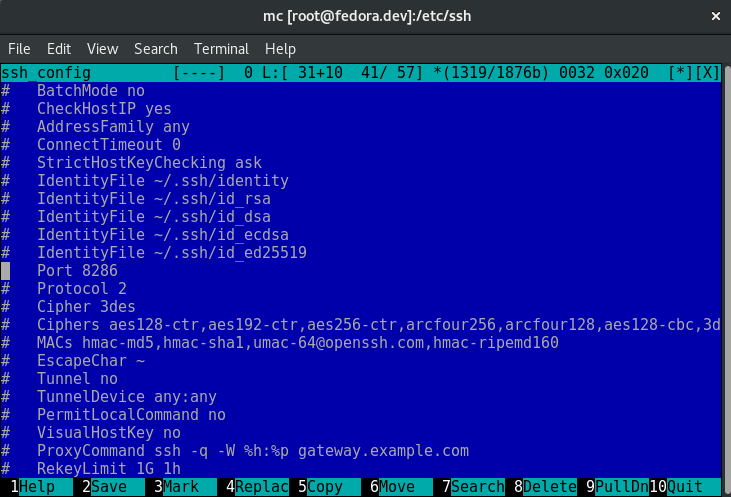
Edit the /etc/ssh/sshd_config file. Find the line # Port 22. Uncomment line by deleting #. Set port to number you received from your hosting company.

6. WP-CLI
WP-CLI is a set of command-line tools for managing WordPress installations. Downloading the Phar file is our recommended installation method.
$ curl -O https://raw.githubusercontent.com/wp-cli/builds/gh-pages/phar/wp-cli.phar
check if it is working:
$ php wp-cli.phar --info
$ chmod +x wp-cli.phar
$ sudo mv wp-cli.phar /usr/local/bin/wp
If you get mv: cannot create regular file /usr/local/bin/wp: Permission denied
use this:
echo "alias wp='~/wp-cli.phar'" >> .bashrc
If WP-CLI was installed successfully, you should see something like this when you run wp --info:
$ wp --info
PHP binary:    /usr/bin/php5
PHP version:    5.5.9-1ubuntu4.14
php.ini used:   /etc/php5/cli/php.ini
WP-CLI root dir:        /home/wp-cli/.wp-cli
WP-CLI packages dir:    /home/wp-cli/.wp-cli/packages/
WP-CLI global config:   /home/wp-cli/.wp-cli/config.yml
WP-CLI project config:
WP-CLI version: 1.1.0
More about WP-CLI can be found in our previous article.
Related:
Setting Up SSH Keys to Access a Cpanel-Controlled Web Site from a Mac | Content2zero
Configuring Fedora Linux Remote Access using SSH – Techotopia
How to change the default SSH port on a Linux VPS – RoseHosting.com Blog
How to Migrate a WordPress Site with WP-CLI and rsync – WPShout
Basic SSH Commands – List of The Most Used Linux Commands
A list of 35 Useful SSH Commands


0 Comments