Creating a website from scratch can be a daunting task especially if you are attempting it for the first time. Building and putting together a fully-furnished website requires a lot of hard work, planning, and sound knowledge of web designing.

alberthbq / Pixabay
Here is a 12-step guide to walk you through all of the main steps that you need to build your own WordPress Website.
1. The purpose of your site
Before you start the website development task, you need to be clear about the purpose of your site. What exactly you want your website visitors to achieve? The criteria of conversion differ depending upon the main objective of the site. However, here are some common website conversions:
- Completing a purchase
- Filling up a form
- Subscribing to a Newsletter
- A brick and mortar store may want visitors to look for the complete address and visit their store
Conversions are important to know as they lay down the foundation of your web pages, design and overall functionality of the website. It is good to figure out requirements of your website at the initial stage so that you don’t need to make changes once you are done with design and development process.
2. All about domain names
To get started, you need to select a domain name and this domain name identifies your website to the users. Picking a domain name can be little challenging as you will figure out, most of the popular names are already being registered.
When it comes to picking an effective domain name, there are many tips but let me tell you in brief that it is all about having a short and memorable domain name. Remember, domain names are not URLs rather they are a part of URLs. Once you have decided your domain name then your next step is to register it.
3. Purchase a web hosting package
After you have registered your desired domain name, next step is to select a hosting package for your website. Web hosting in simple words is buying a place for your website on the internet wherein your website can be accessed by the people. For hosting, there are generally three options to decide upon:
Shared web hosting – It is a good option if your website is small and won’t be driving much traffic. Besides, in shared web hosting, costs are relatively lesser.
VPS – (virtual private server) This option is similar to shared hosting but here sharing is between a few users only and when it comes to hardware, it is partitioned equally.
Managed WordPress hosting – When we talk about managed WordPress package, it is quite similar to getting a website from WordPress.com which can be considered as managed WordPress host.
4. Website Content
Make a list of relevant keywords, for which your target audience must be searching for and include it in your website content. With your content, try to target as many relevant keywords as you can but refrain from keyword stuffing that can do more harm than good to your site. To make an effective content copy, you need to use the main keyword into your title, meta description, within your URL, and within your heading (H1).
When it comes to content, you can make use of various types of media such as images, animations, videos, podcasts, testimonials, and infographics.
5. Structure of Website
Your keyword research to a great extent helps you in defining the structure of your site. Reviewing your keywords, understanding your target audience, and a thorough research of your competitor’s site will help you define web pages of your website and the relationship of these web pages to each other. The structure of each website varies depending on the said factors, however, let’s take a look at some common pages that majority of the websites have:
- Homepage
- About Us Page
- Products/Services
- Contact Us
- FAQs
- Client Testimonials
- Terms & Conditions
- Privacy Policy
You can add more web pages depending upon your business requirement.
6. Setting up Wireframes and designing
Now the next step is to decide how your website will look like. In the wireframes, you need to outline where different elements will be placed on a web page and their sizes approximately. During this stage, you will also be deciding where you will be placing content on a particular web page. You can always take a look at other website designs for inspiration.
There are many UI patterns for deciding the layout of the website. Based on the UI pattern you pick, your website layout needs to be structured. Here are some common UI patterns that you can consider: F Pattern, Z pattern, Grids, and cards. You can pick any of the UI patterns for your website.
7. Style Guidelines
Once you have successfully created wireframes for your new website, next things are to define how the elements within those wireframes can be styled. There are many key areas that you need to include within your style guidelines.
Typography – Font families, different font sizes such as H1, H2, and paragraphs.
Color Palette – Primary, secondary or tertiary colors to decide
Imagery – The type such as vector, jpeg, illustrations
Spacing – Padding and margins
8. Installing WordPress
Now it is time to actually start building your website. There are several options when it comes to installing your website. It mainly depends on your chosen hosting package such as if you have a managed WordPress host then you need to get started by filling up a simple form. And if you have a managed host then you have two options either to go for manual installation or one-click installation.
If you decide to take the manual root, the process can take little time. You need to download WordPress then upload all files to your domain’s folder, create a database. Once a database is successfully created, you need to point your browser to the domain and follow the on-screen instructions and you are done.
9. Selecting a WordPress theme
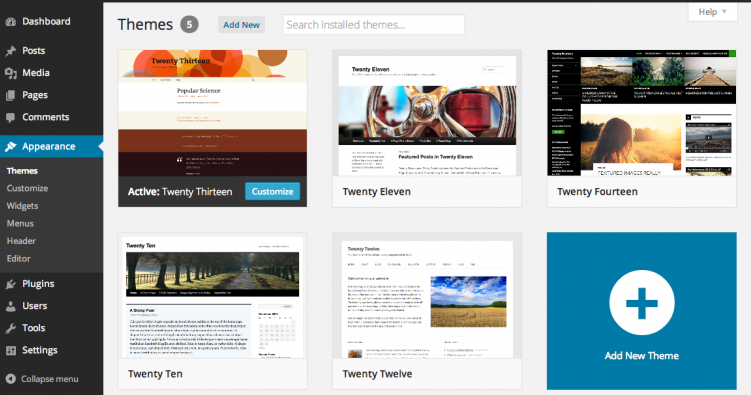
After successfully installing WordPress to your domain, you can pick a theme for your new website. Picking a theme for your website is a tricky task as it is going to be the visual skin of your website. In simple words, it is going to add the visuals for the front page of your website. Pick a theme that has a good design, compatibility with popular plugins, and easy navigation.

Depending on the type of your website, you can pick a theme such as if you are going to run an e-commerce store then woo commerce makes a popular choice. In WordPress, you get many premium and free themes options, pick the one that is close enough to what you are looking for and works for you.
10. Essential Plugins
There are several plugins available that you can use for your website to improve its performance and optimize it for search. But initially, it is advisable to opt for only essential plugins as you can always add more plugins later. For example, if you are running an e-commerce store than WooCommerce has become a standard plugin.

Here are some essential plugins for any new website:
For Site Security – WordFence
For SEO – SEMrush
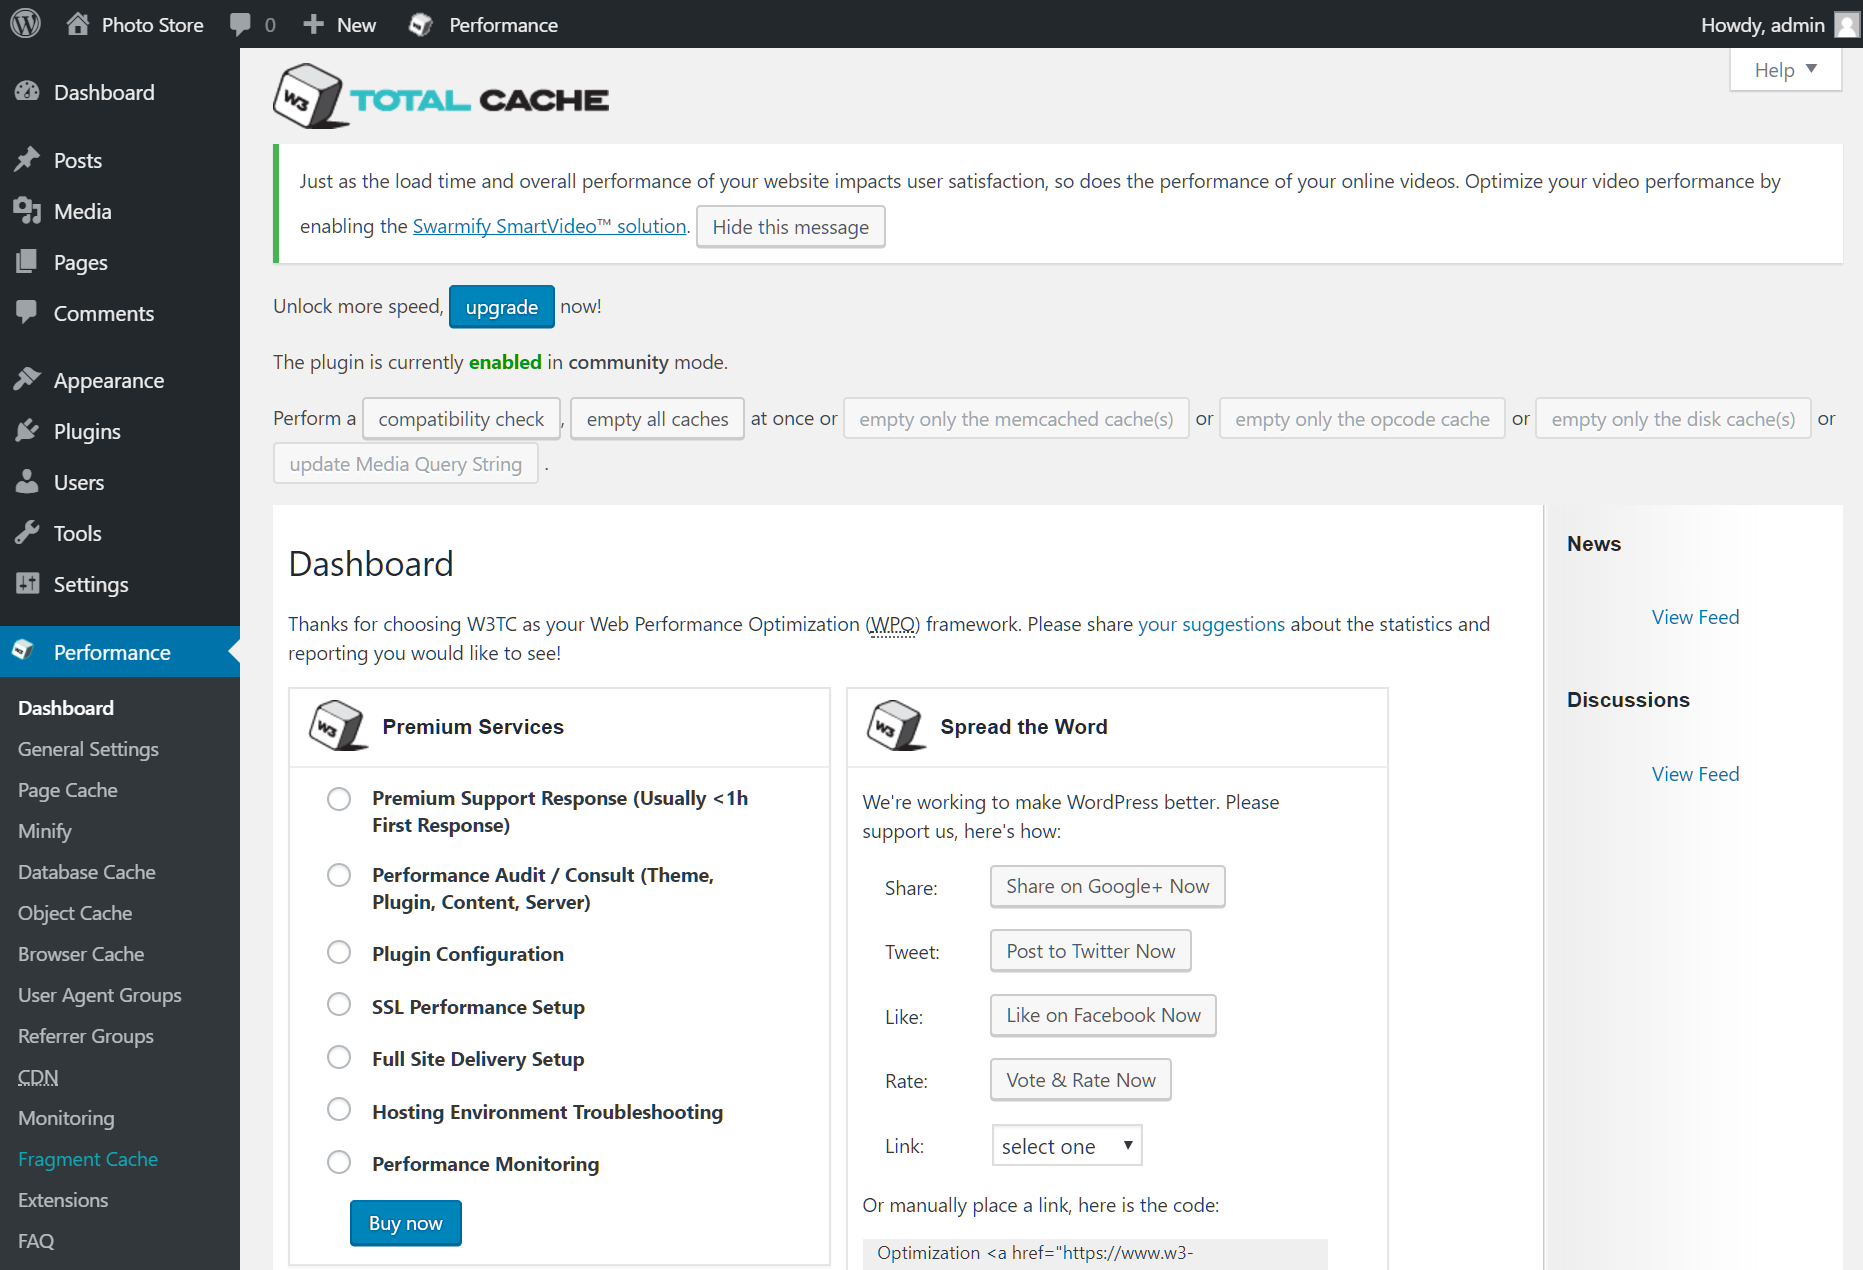
For Optimizing web pages – Cache plugin
Google Analytics Dashboard for WP
Display Widgets- To show different widgets on different web pages of the site
11. Setting up your website
Now comes the last step, it’s time to put all your preparation into action and set up your website. Using the WPMU DEV dashboard, you need to install the core upfront files and upfront theme builder. After successfully installing the upfront, you can work on building your theme. This process can take time and once you have to build your professional website design, before launching it you should install Google Analytics. GA provides extensive data and will enable you to track where your visitors are coming from and how they engage with your site. Through GA you can optimize your website and identify which web pages are performing well and which pages need improvement.
12. Launching your website
Finally, your website is ready to launch. If you plan to build your website locally, then next you need to transfer your database and all theme files to your online web hosting. For this, you have two options either you can use plugins or do it yourself manually. If you chose to do manually, then you need to first export your local database and then import it into your live hosting database.
Next, you need to transfer files from your local development environment to your live hosting using an FTP file management tool like FileZilla. Once you have successfully done this, next you need to navigate to the homepage your production site and see your all-new website. Now review all your web pages and content to ensure it has been migrated accurately.
Lastly, now to make sure your new website is visible in the search results and is crawled & indexed by search engine giants, you need to sign up for Bing Webmaster Tools and Google Search Console. Here you need to submit your XML sitemaps and your site is ready to impress your visitors.
Final Say – Getting your website designed by a professional is the best option without saying but if you have decided to do it yourself then follow the said tips and start out as best as you can. Building a perfect website requires expertise and experience and this you can only get by giving things a go. So, give website development a shot yourself. Good Luck!


Amazing article! Just wanted to add that if you have a BuddyPress network or WordPress Multisite, you will need Recent Global Post Widget. This plugin serves to show the newest posts from all the websites in your network by displaying them in the sidebar or any other space defined by the widget.